Sunday, July 17, 2011

876- Rudolf - Germany - DRO Installation on Optimum BF20

Thanks Rudolf from Germany for his photo on Optimum BF20 Mill with
mTECH-3M
Scale : 220mm, 320mm, 370mm


Message from Rudolf:
===========

I've finished my DRO installation on my OPTIMUM BF20 Mill.

Lasts about 2 days to install.
Y Axis brackets have been a little bit difficult to produce
and to install. X Axis went sooth as well as Z Axis.

DRO works as expected.

Attached a couple of pictures from my installation.

Finally thanks for all. Was a pleasure doing business with you. Never
thought to have a DRO for this money.....

--
With best regards

Rudolf Eineder

852- Trygve - Norway - TDS-3i DRO on Bridgeport Mill

Thanks Trygve (Norway) for the photos on the Bridgeport mill.
 
The following equipments are used :
TDS-3i
Scales : 320mm, 470mm, 820mm
 
 
Message from Trygve :  
===============================
Hi.
 
Sending you some pictures of digital readout. The company that I have installed this build cars for handicapped people.
Company name Rep. Tek AS
Thank you for the excellent follow-up after purchase.
 
 
Best regards
 
Trygve H. Kristiansen
(syvogtrygve)
 

1227 - Murray Blum- Australia - ZX45 Mill - TDS 3i

Thanks Murray for the nice photos of the installed DRO on his ZX45 Mill.
He is using the :
TDS - 3i
with scales:
120mm, 220mm, 520mm
Message from Murray:
=============================================
Just finished installing the DRO, that I just bought from you.
A couple of pictures of the finished job.
I might save my penny’s and get one for my lathe.
Cheers
Murray Blum

Thursday, June 9, 2011

DRO installation on Real Bull Mini-Lathe from Henry Thomas

An excellent installation on a mini lathe.

The challenge in mini lathe is the space constraint.

Thanks for the photo, Henry, it will be a great help for our budding installer.

Here is an unedited email from Henry :

========================================


Just thought I would send some pics of my successful installation of your DRO on my Real Bull bench top mini-lathe. While it may seem overkill to mount a DRO on such a small hobby lathe, properly set up with lapped beds and ways, this is a very accurate and capable lathe, which I use for a lot of R&D work. So I wanted to add a DRO to improve my productivity. I had considered using calliper type scales, but didn't think they would be robust enough. In the end your package turned out to be only marginally more expensive. The biggest challenge was figuring how to get it all to fit, so I am really happy with how well it actually turned out.


My goal with this installation was to make minimal changes to the original appearance and operation of my mini-lathe. It has a pretty compact work space, so I didn't want the scales interfering with any of the slide movements. Below you can see how installing both the X and Z scales under the carriage has achieved this.


For the cross slide I milled out a 20 x 20 mm bar.


This is attached to the cross slide in the channel where the feed screw is located. It connects to the 120 mm X-scale under the carriage.


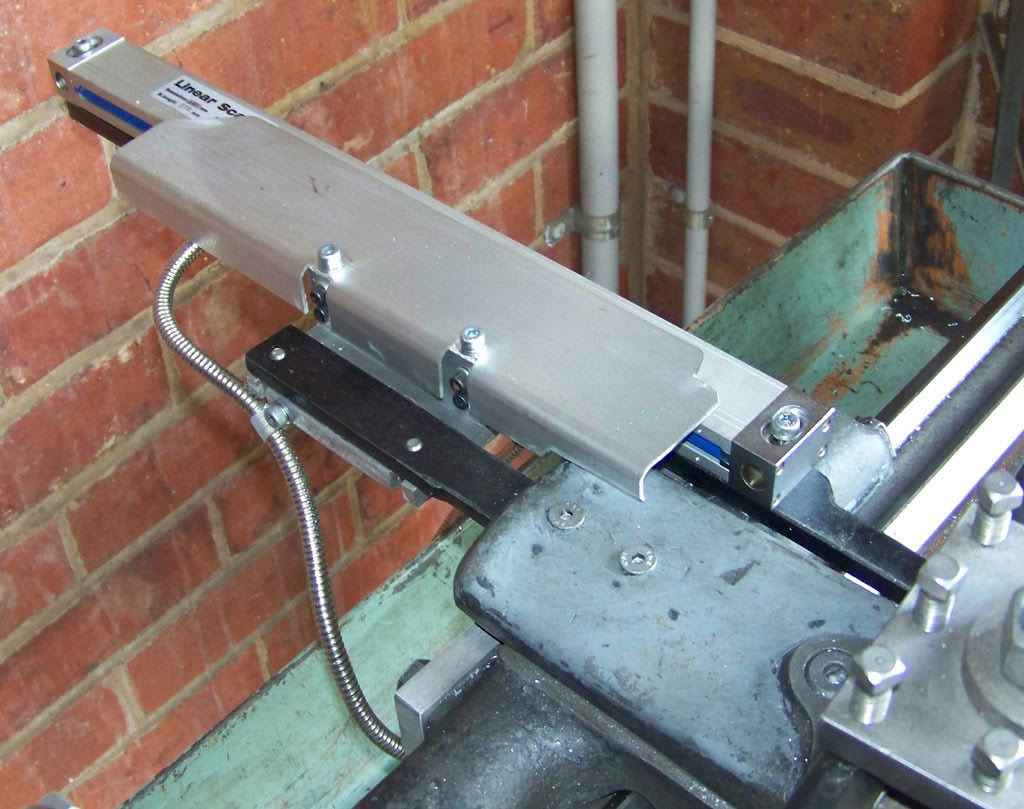
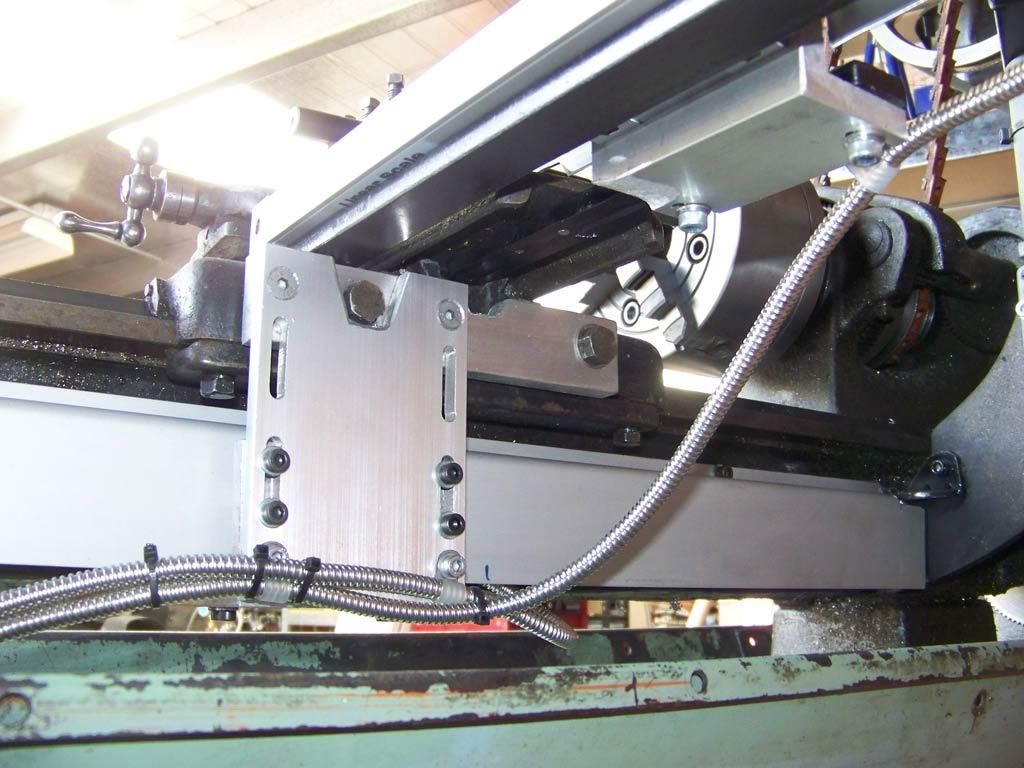
The X-scale is mounted under the carriage to a bracket that backs onto the same bracket that connects the carriage to the Z-scale. The other end is bolted to the under side of the apron. I had to mill a notch out of the X-scale bracket to clear the half-nuts, which protrude slightly below the apron.


Even though space was tight, I was still able to mount covers over both scales.


The Z-scale bracket spacer required a slot to be milled out to make room for the cross slide bracket.


Here you can see the Z-scale mounted to the bed and the bracket attached to the milled spacer (from above) which is attached to the back of the carriage.


I had to mill all the parts from scratch, which took a bit of time, but nothing was particularly difficult. The carriage travel is limited by the lead screw covers, but I added a stop to prevent the cross slide over-running the X-scale.


Kind regards,


-h

Tuesday, May 31, 2011

mTECH DRO2L , installation from Sam-Q from S.E Victoria, Australia

Thanks to Sam-Q from S.E Victoria, Australia
Here is a complete, un-edited message from our buyer :
(The post is towards the end, just scroll down)
====================================================
Professional Digital Readout Upgrade:


In the normal use of my crude yet effective digital scale I found it would jump in 0.02 to 0.03 increments. Thinking it was the cross-slide being sticky I took it apart for a clean and re-grease. Putting it back together I found that it made no difference. Out of frustration I considered changing to a DRO with a higher resolution. The online company M-tech where offering SINPO branded kits on ebay (Username: Thethedrostore) with the optional extra of a 0.001mm resolution which was 10 times greater resolution than before. I was apprehensive about going for model of DRO that was sold online however I decided to take a chance due to the very helpful support from the company, the excellent easy to read documentation and in a worse case scenario the scales and screen where directly interchangeable with the common locally used DRO's. Upon ordering it took only a few days before a courier dropped off the relevant boxes to my workshop.

I ordered the kit which included the main screen, two slides and a very comprehensive selection of assorted pieces to mount everything such as brackets, shims, cable ties and clips. SO as to not have any accuracy issues I decided to use some very solid mounts, 10mm thick for the bracket that held the main scale and 8mm thick for the digital readout slider. It took about 3 days start to finish to do the job as I spend a considerable amount of time lining up the scales.

The scales had an automatic radius/diameter compensation built into it, this is used because when a lathe tip takes 1mm off a piece of round it gets taken off all round and hence seeing that 1mm is taken off both sides 2mm gets removed overall. Previously I had to halve all my measurements with a calculator to work out where I needed to end up at, now with this system I take a light cut, measure it, input it into the DRO and then I just keep cutting till I get close to where I want it. Because of this compensation the scale moves in 0.002mm increments instead of 0.001mm.

In testing I unwittingly discovered my previous problem of the jumpy readings; it was the old scale itself, or rather the thin metal mounting it had. The reading I was seeing was the scale holding in one position with the friction until the springiness of the bracket was taken up which would then cause it jump forward 0.03mm. With the new scale I could easily move forward the minimum 0.002mm at a time with ease. Setting the scale on a known diameter I found it was fantastic in always knowing exactly where I was and a was a real pleasure to use.

The only real downside is that the contrast on the screen is poor, in full light it's just not possible to read the screen at all. I will install a shroud around the screen in due time but for now I am fine as I usually use my lathe at night time, otherwise so far it's been a great unit.

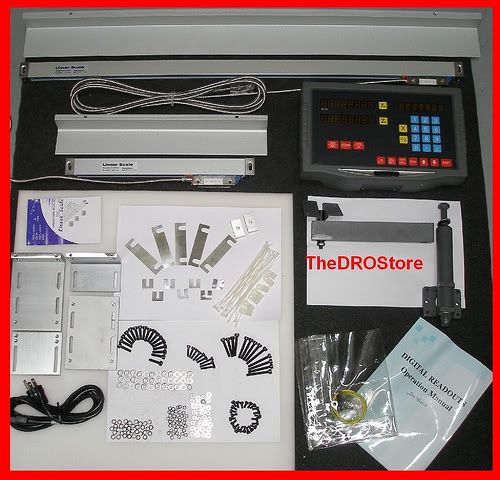
The official photo of what the kit is supplied with.

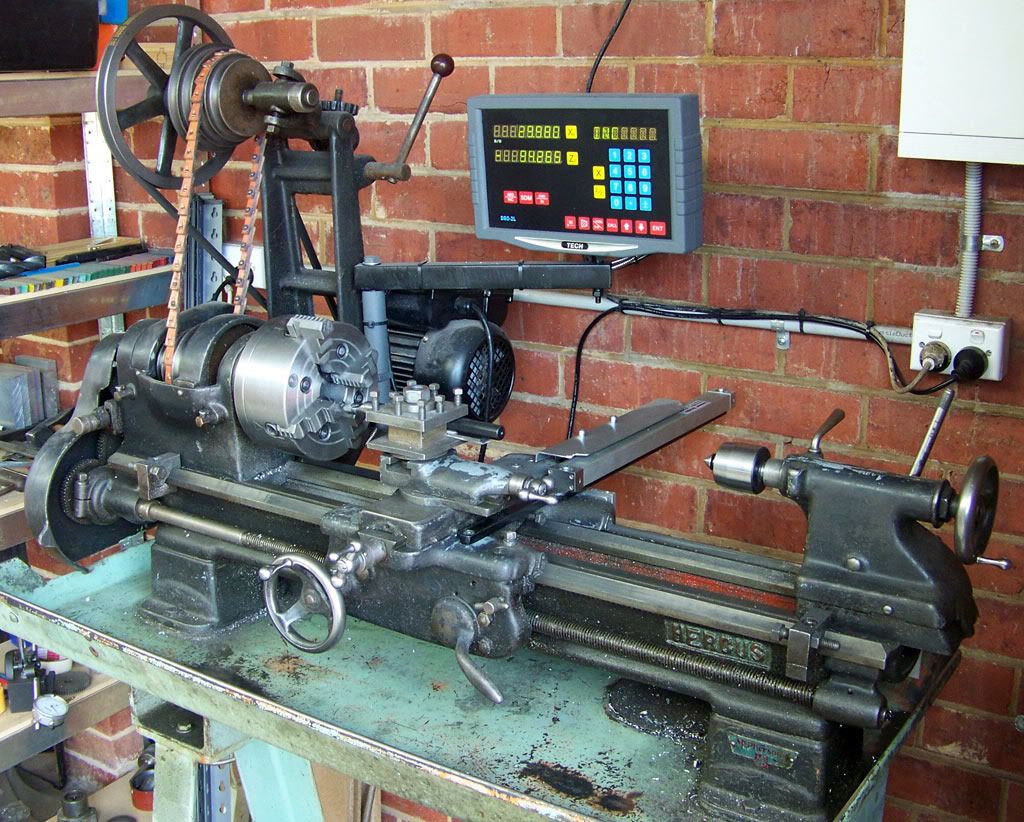
The DRO installed and ready for use. I did make a longer screen mounting bracket to suit the machine though.

The custom bracket that holds the scale, originally a 20 x 10mm solid bar but chopped length ways to all for the maximum amount of tail-stock movement. Shims where installed under one end to have the correct level.

This 25 x 8mm bar is attached to the bottom of the cross-slide and holds the scales reader head. I purposefully chose an extra long scale so that I may install it on a different larger machine in the future. Only a small part of the dust cover could be used.

The main slide scale shown with the dust cover installed. This scale is held in a very well protected position as it faces down and well inside the cover. The covers, clamps and most of the fasteners where all supplied with the kit.

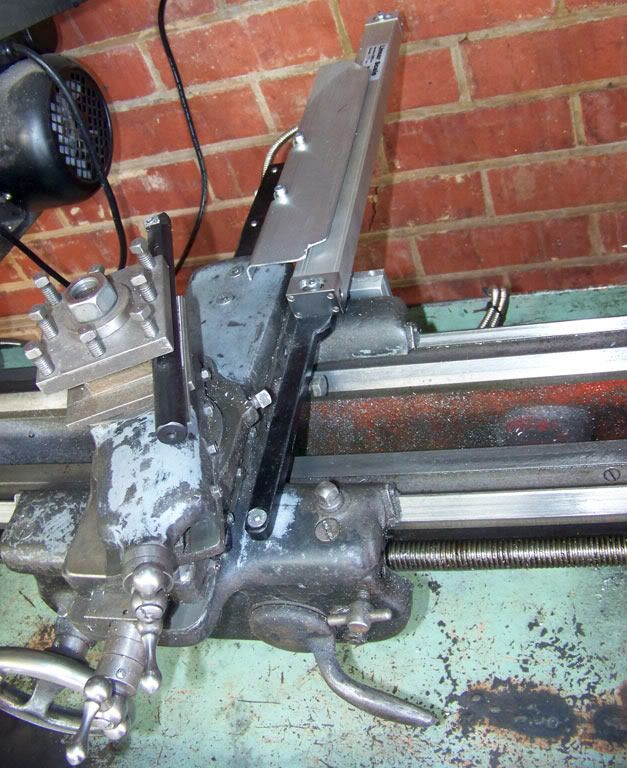
The mounting of the reader head of the main slide. It is attached to the cross-slide carriage where a steady would normally be bolted up. The cross-slide scale mounting is also visible. Again the brackets clips and ties where all supplied.