
Thanks to Sam-Q from S.E Victoria, Australia
Here is a complete, un-edited message from our buyer :
(The post is towards the end, just scroll down)
====================================================
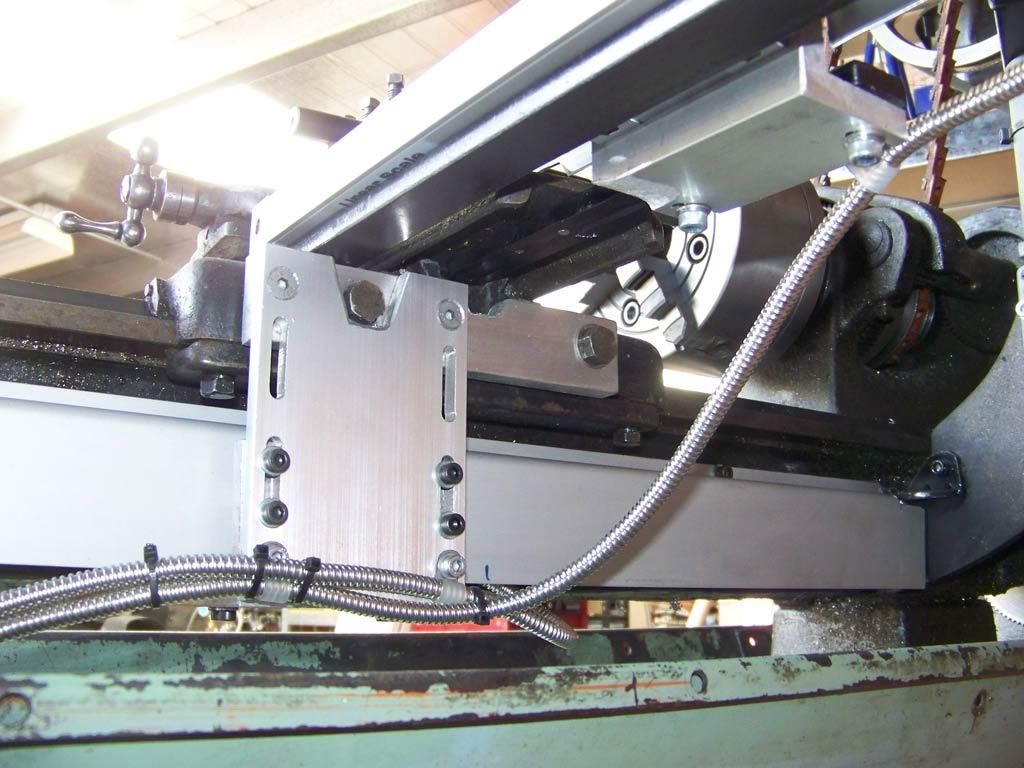
Professional Digital Readout Upgrade:
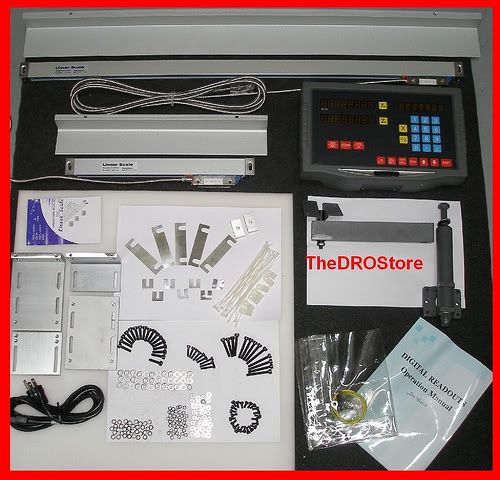
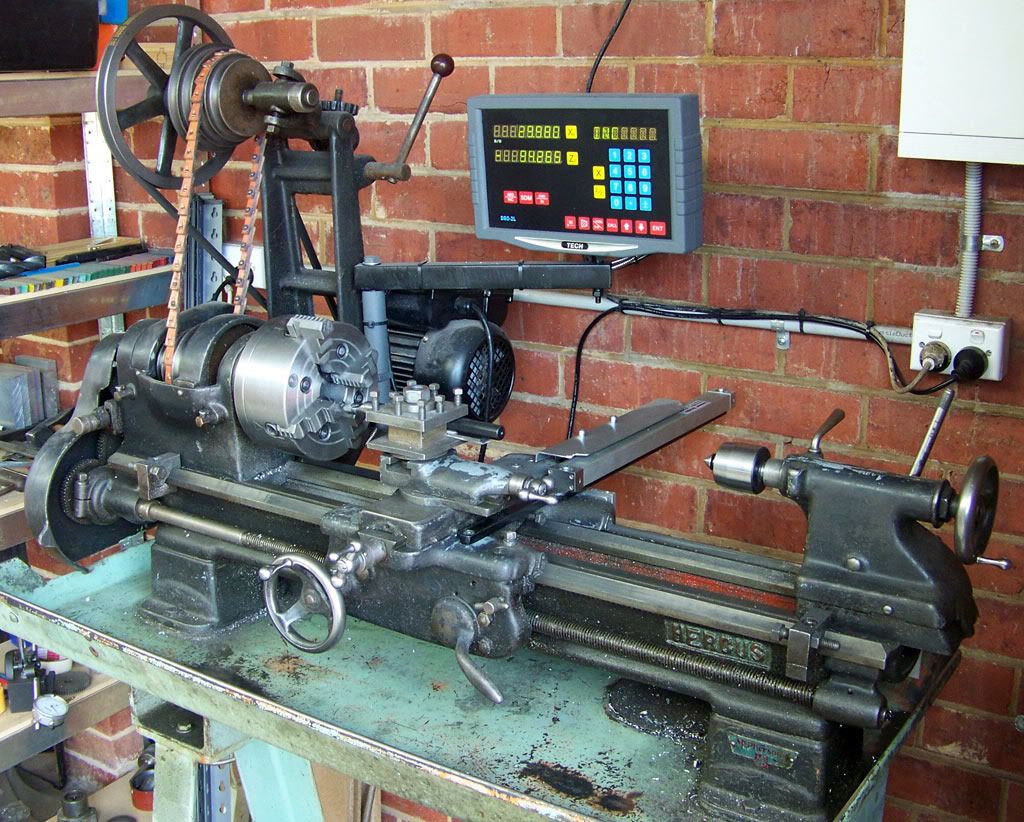
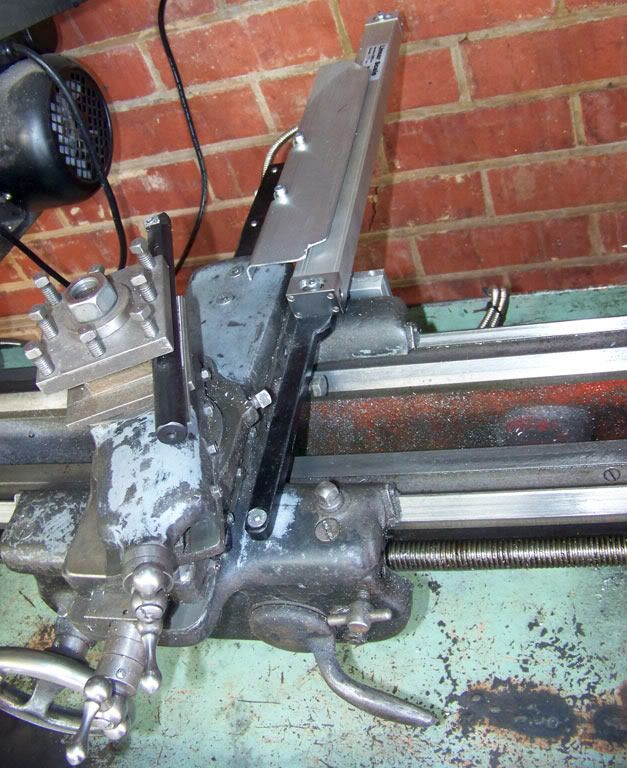
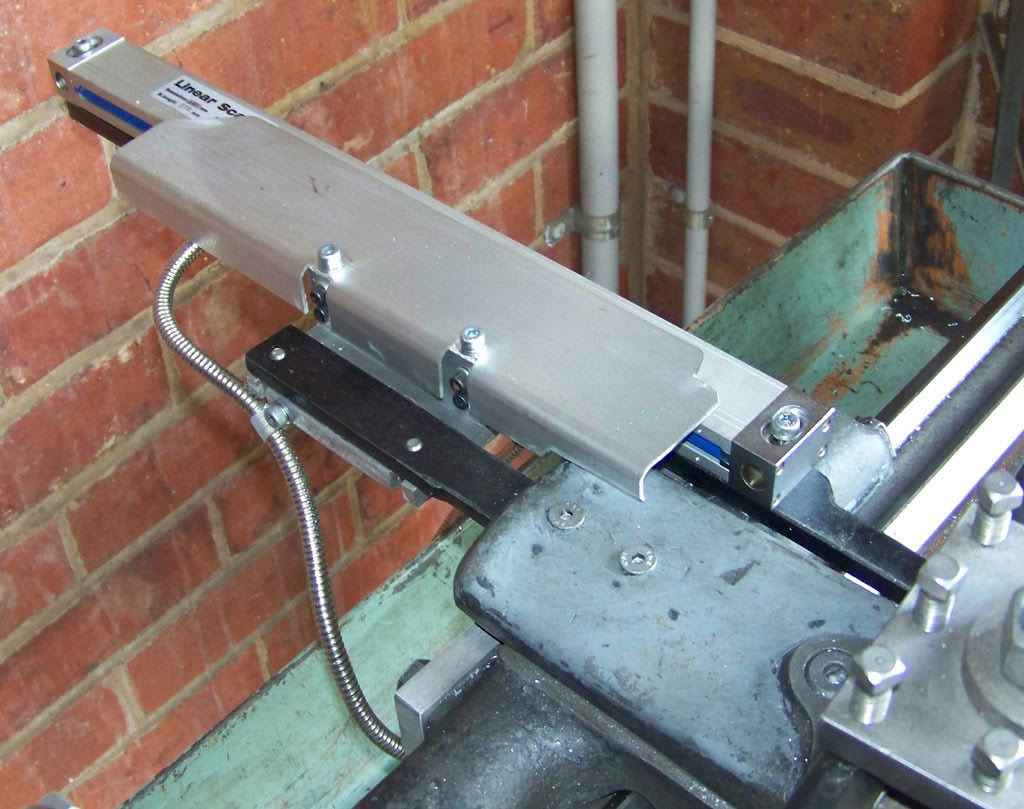
| In the normal use of my crude yet effective digital scale I found it would jump in 0.02 to 0.03 increments. Thinking it was the cross-slide being sticky I took it apart for a clean and re-grease. Putting it back together I found that it made no difference. Out of frustration I considered changing to a DRO with a higher resolution. The online company M-tech where offering SINPO branded kits on ebay (Username: Thethedrostore) with the optional extra of a 0.001mm resolution which was 10 times greater resolution than before. I was apprehensive about going for model of DRO that was sold online however I decided to take a chance due to the very helpful support from the company, the excellent easy to read documentation and in a worse case scenario the scales and screen where directly interchangeable with the common locally used DRO's. Upon ordering it took only a few days before a courier dropped off the relevant boxes to my workshop. I ordered the kit which included the main screen, two slides and a very comprehensive selection of assorted pieces to mount everything such as brackets, shims, cable ties and clips. SO as to not have any accuracy issues I decided to use some very solid mounts, 10mm thick for the bracket that held the main scale and 8mm thick for the digital readout slider. It took about 3 days start to finish to do the job as I spend a considerable amount of time lining up the scales. The scales had an automatic radius/diameter compensation built into it, this is used because when a lathe tip takes 1mm off a piece of round it gets taken off all round and hence seeing that 1mm is taken off both sides 2mm gets removed overall. Previously I had to halve all my measurements with a calculator to work out where I needed to end up at, now with this system I take a light cut, measure it, input it into the DRO and then I just keep cutting till I get close to where I want it. Because of this compensation the scale moves in 0.002mm increments instead of 0.001mm. In testing I unwittingly discovered my previous problem of the jumpy readings; it was the old scale itself, or rather the thin metal mounting it had. The reading I was seeing was the scale holding in one position with the friction until the springiness of the bracket was taken up which would then cause it jump forward 0.03mm. With the new scale I could easily move forward the minimum 0.002mm at a time with ease. Setting the scale on a known diameter I found it was fantastic in always knowing exactly where I was and a was a real pleasure to use. The only real downside is that the contrast on the screen is poor, in full light it's just not possible to read the screen at all. I will install a shroud around the screen in due time but for now I am fine as I usually use my lathe at night time, otherwise so far it's been a great unit. |


